How to Clean a Mechanical Keyboard Without Wrecking It
A keyboard collects a year of dust, crumbs and skin oil. Cleaning it is an afternoon of waiting and about twenty minutes of work.
3 min read
- Drying time for washed keycaps, minimum
- 24 hours
- The puller that doesn't scuff the sides of a cap
- Wire, not ring
- The board itself: switches and PCB stay dry
- Never submerged
A keyboard that lives on a desk collects dust, crumbs, hair and skin oil, and the caps go shiny where fingers land. None of that hurts the switches much, but it looks bad and it feels worse.
The job splits in two: the caps, which can be washed properly, and the board, which can’t.
Before you pull anything: photograph the layout
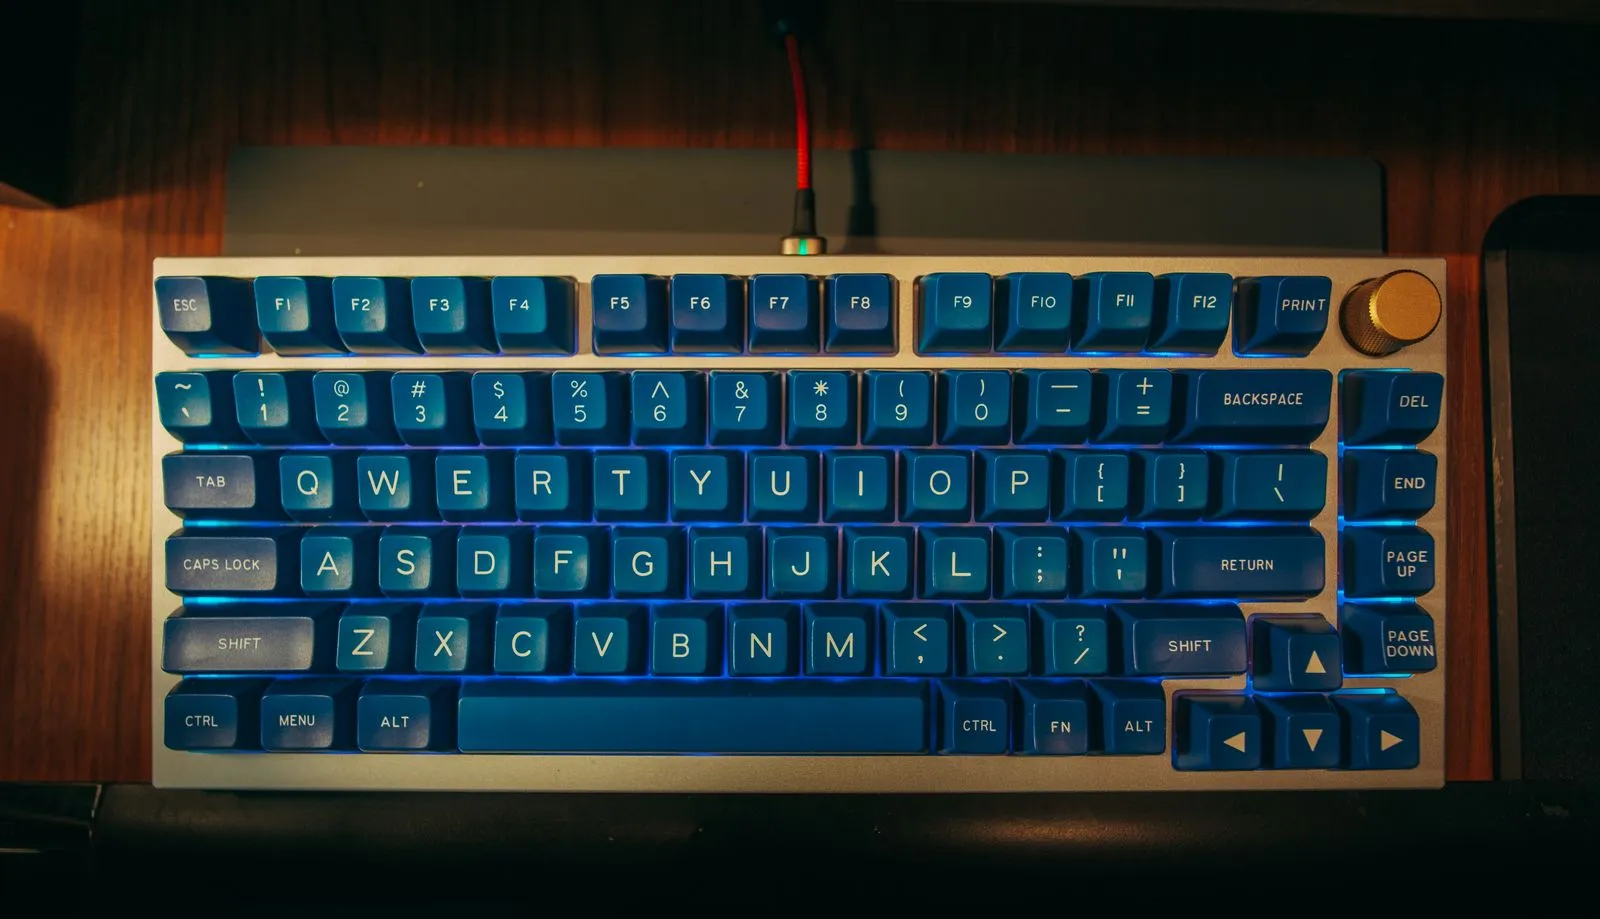
Take a photo of the whole keyboard from directly above, close enough to read the legends. Keyboards vary in the bottom row, in the size of the right-hand modifiers, and in where the arrows and function keys sit. Twenty minutes later, with 87 caps drying on a towel, that photo is the difference between a five-minute reassembly and a puzzle.
If the board has blank or front-printed caps, the photo matters more, not less.
Pull the caps with a wire puller
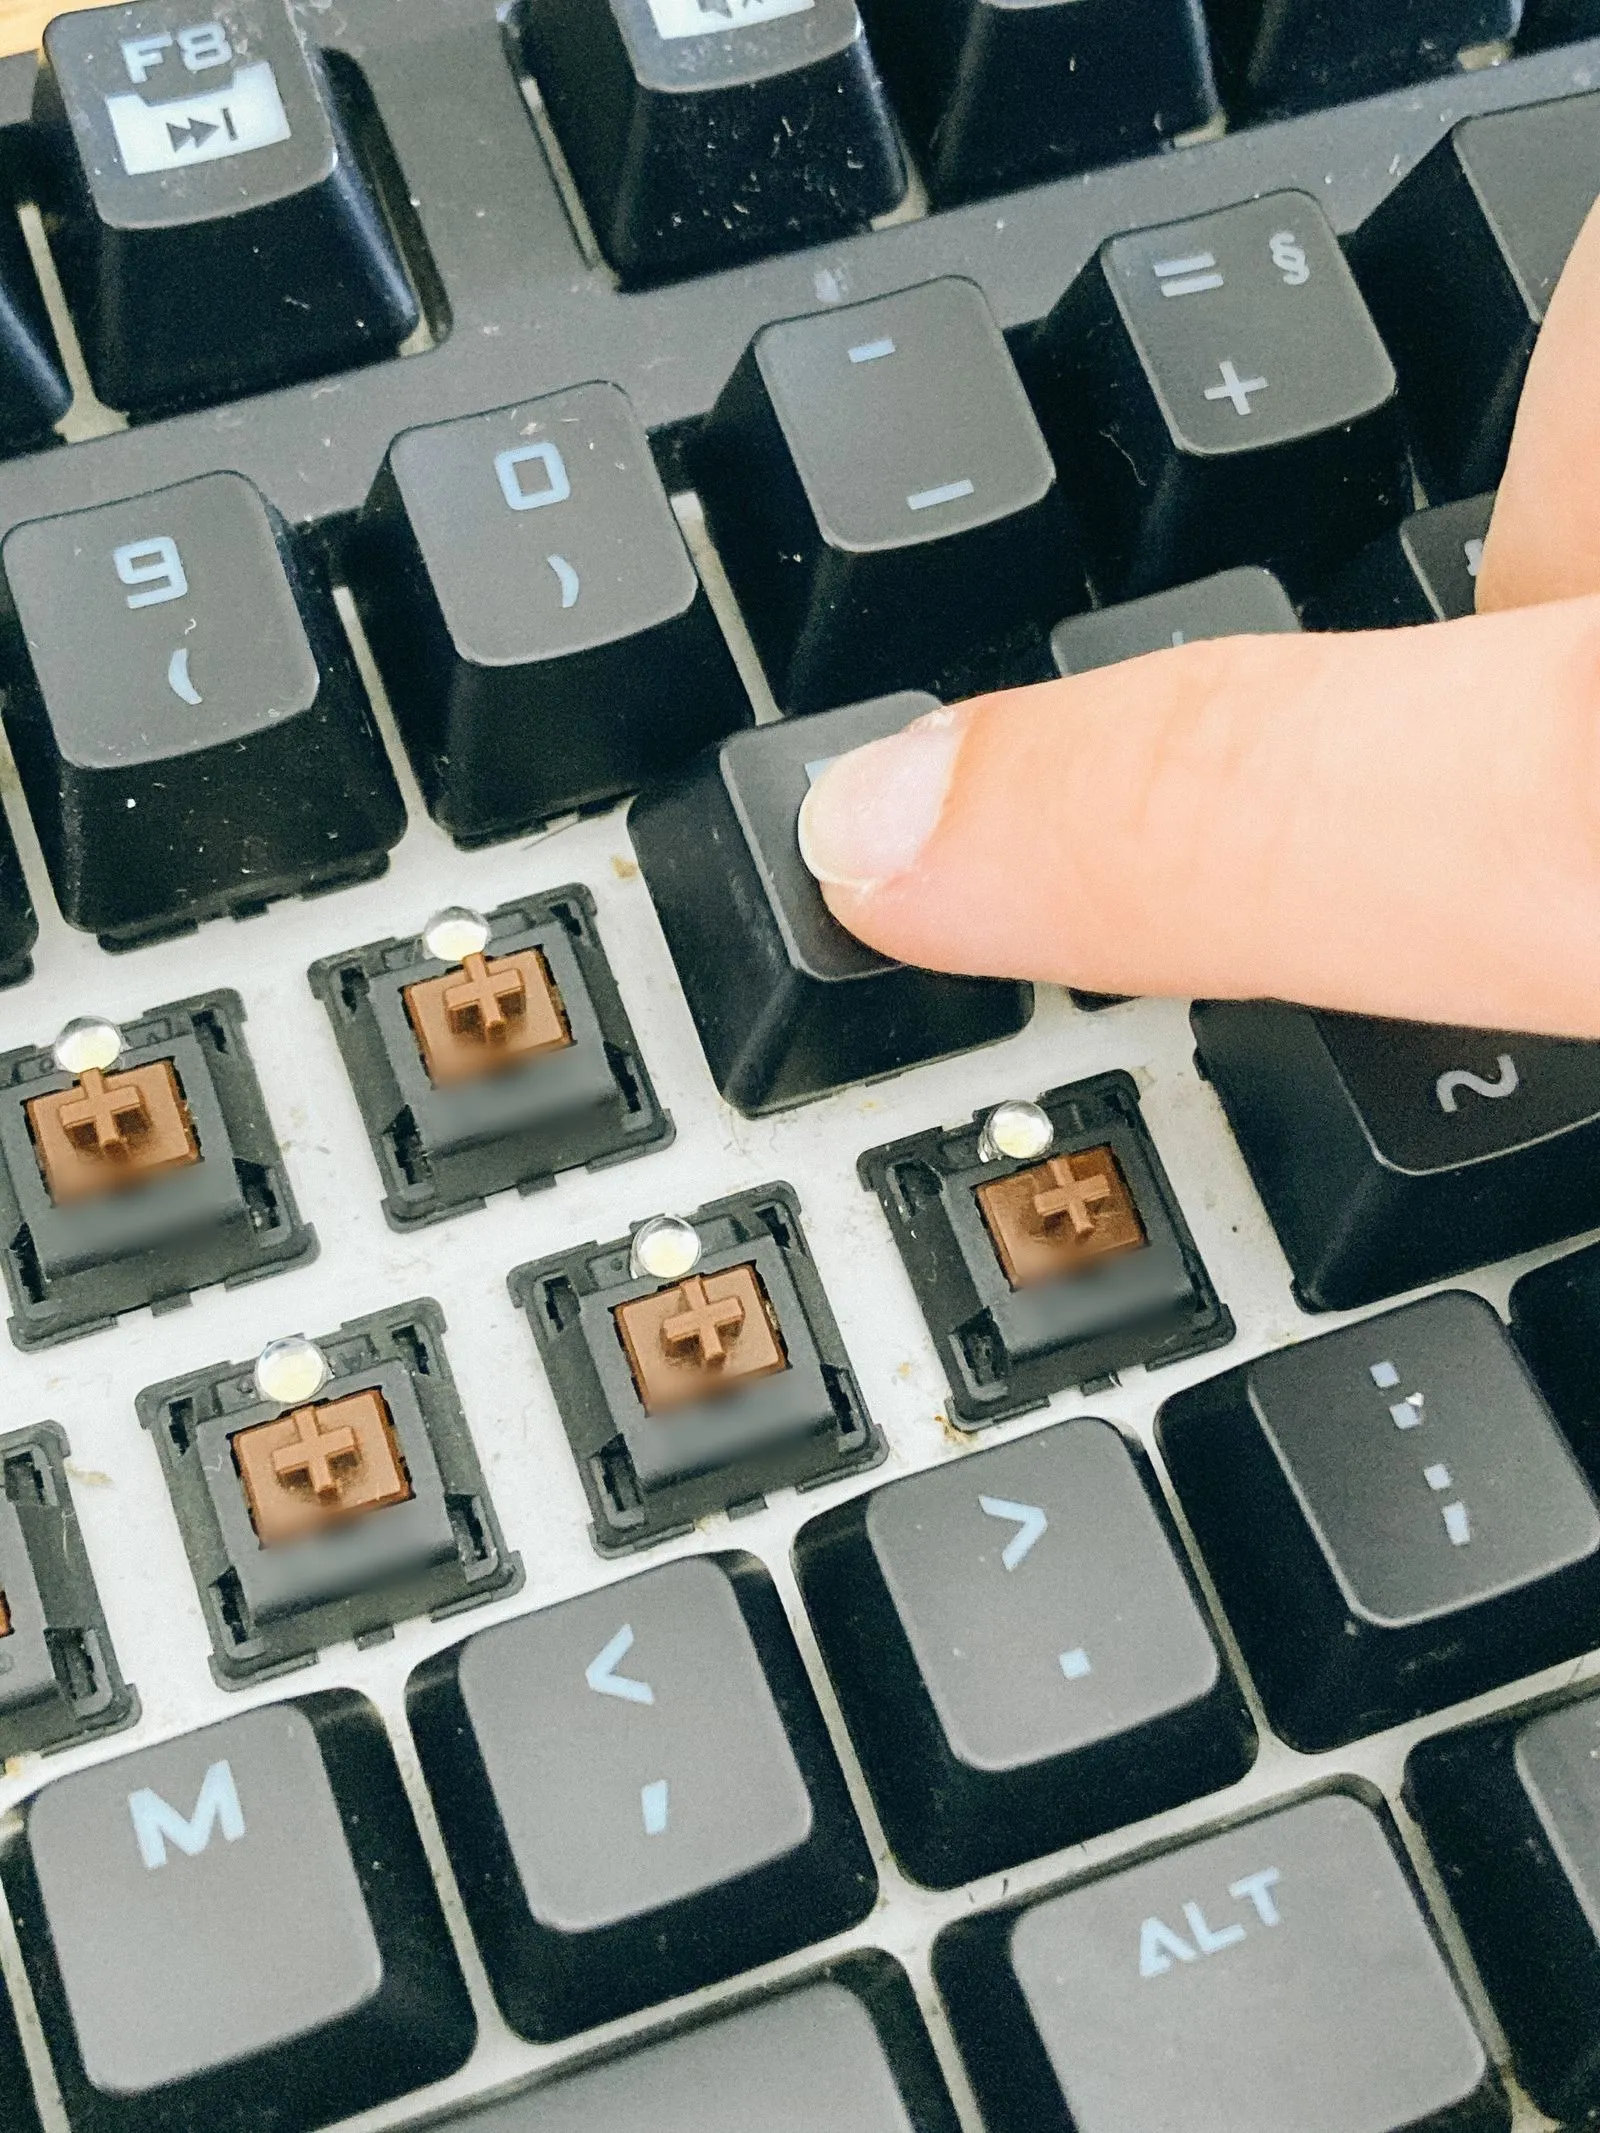
Use a wire puller: two U-shaped wires that hook under opposite corners of the cap and lift it straight up. The plastic ring pullers that ship in the box clamp the sides of the cap instead, and on softer plastic they leave scuff marks that don’t come out.
- Pull straight up, not at an angle. A cap that comes off tilted can bend a switch stem.
- Long keys — spacebar, Shift, Enter, Backspace — usually sit on a stabiliser. Lift both ends evenly. Some stabilisers have a wire that unclips from the cap underneath; work it loose rather than yanking.
- Put the caps straight into a bowl or a mesh bag as they come off, so none roll off the desk.
Wash the caps
Warm water, a drop of dish soap, and a bowl. Let them sit for a few hours, then rub off anything that stayed on with a soft brush — an old toothbrush works — rinse, and lay them out on a towel legend-side down so water drains out of the stem.
A few things worth knowing:
- Keep the water warm, not hot. Hot water can soften and warp thin ABS caps, and it can lift some printed legends. Bath-warm is plenty.
- No dishwasher. The heat cycle is the problem, not the water.
- No bleach, acetone or alcohol on the caps. They attack the plastic and the legends. Soap is enough.
- Artisan caps and anything hand-painted stay out of the bowl. Wipe them instead.
Then leave them a full day. Water hides inside the stem and under the top of the cap, and a cap that goes back on damp puts water directly onto the switch. If you’re impatient, shake each one out and leave them in front of a fan, but still give it hours, not minutes.
Clean the board while the caps dry
The board never goes in water. With the caps off, most of the mess is sitting on the plate where you can reach it.
- Unplug it. On a wireless board, switch it off and take the battery out if that’s easy to do.
- Turn it upside down and tap. Most crumbs fall straight out.
- Brush the plate. A soft brush, a makeup brush or a paintbrush pushes dust out from between the switches. Compressed air does the same job, and moves the dust somewhere else in the room.
- Wipe the case. A cloth, barely damp, then dry. For finger grease, isopropyl alcohol on the cloth — not poured on the board — works on plastic and metal cases. Keep it off the switches.
- Sticky spills are the exception. If something sweet went in and the switches are gummy, cleaning around them won’t fix it. On a hot-swap board you can pull the affected switches and clean or replace them. On a soldered board, that’s a desoldering job.
Put it back together
Work from the photo. Start with the long stabilised keys so you can check they press evenly, then fill in the rows. A cap that goes on crooked feels wrong immediately — lift it and try again rather than pressing harder.
Plug it in and press every key once before you call it done. If one key does nothing, it’s almost always a cap that didn’t seat, not a dead switch.
How often
Twice a year is plenty for a normal desk, with a quick brush-out and a cap wipe every month or two in between. If you eat at the desk, make it quarterly.
The short version
- Photograph the layout before a single cap comes off.
- Wire puller, straight up, both ends on the long keys.
- Warm soapy water, no dishwasher, no solvents, no artisans.
- Dry a full 24 hours before refitting.
- Brush and wipe the board. Never submerge it, and keep alcohol off the switches.