Bias Lighting and LED Strips: How to Light the Wall Behind a Monitor
Light the wall behind the screen at 6500K, keep it dim, and buy a strip that reads as one clean line instead of a row of dots.
5 min read
- Matches the white point of most screens
- 6500K
- Of the screen's brightness, as a starting point
- ~10%
- For any strip that lights the desk
- CRI 90+
- For long runs without a dim far end
- 24V
A bright screen in a dark room is a harsh contrast. Bias lighting fixes it by lighting the wall behind the monitor, so the screen isn’t the only bright thing in view. Done right, it’s barely noticeable. Done wrong, it tints everything on the screen and looks like a gaming café.
Then there’s the hardware. LED strips all look the same in the listing photo and very different on the wall. Four specs decide if you get a clean line of light or a row of glowing dots.
What bias lighting is for
The idea comes from video and film grading, where editors light the wall behind a reference display. A lit surround means your eyes aren’t constantly adjusting between a bright rectangle and a black room. It also gives the screen a neutral reference, so blacks look black and whites look white instead of blue-grey.
It is not a colour effect. Colour behind the screen looks good in photos and shifts how you see everything on the display. For the lighting you work under, neutral wins.
The three settings
Colour: 6500K. Most screens are calibrated to a white point called D65, which sits at about 6500K. That’s the standard white for sRGB and HD video. Matching the wall light to it keeps the screen’s white looking white. A warm 2700K strip behind a 6500K screen makes the screen look blue by comparison.
Placement: behind the screen, facing the wall. Stick the strip on the back of the monitor, a few centimetres in from the edges, so it lights the wall and never shines toward you. You should see a soft glow around the screen and no visible LEDs. Above the monitor or under the desk doesn’t count; the point is the wall directly behind what you’re looking at.
Brightness: roughly a tenth of the screen. The figure usually quoted is around 10% of the display’s brightness. It’s a starting point, not a law. Set it so the wall glow is visible but you stop noticing it after a minute. If it competes with the screen, it’s too bright.
| Setting | Target | Why |
|---|---|---|
| Colour temperature | About 6500K | Matches the D65 white point most screens use |
| Placement | Back of the monitor, facing the wall | Lights the surround without shining at you |
| Brightness | Around 10% of the screen | Softens contrast without competing |
| Distance to wall | Close enough to light it evenly | A monitor far from the wall lights nothing useful |
The caveat: bias lighting needs a wall. A desk floating in the middle of a room, or a monitor well out from the wall on a long arm, gets very little from it.
4 checks before buying an LED strip
Bias kits and general desk strips come from the same parts bin. These four specs matter for both.
1. COB, or SMD in a diffuser
SMD strips use separate LED chips spaced along the tape, often 60 or more per metre. On a wall, and especially reflected in a glossy desk, you see each one as a dot.
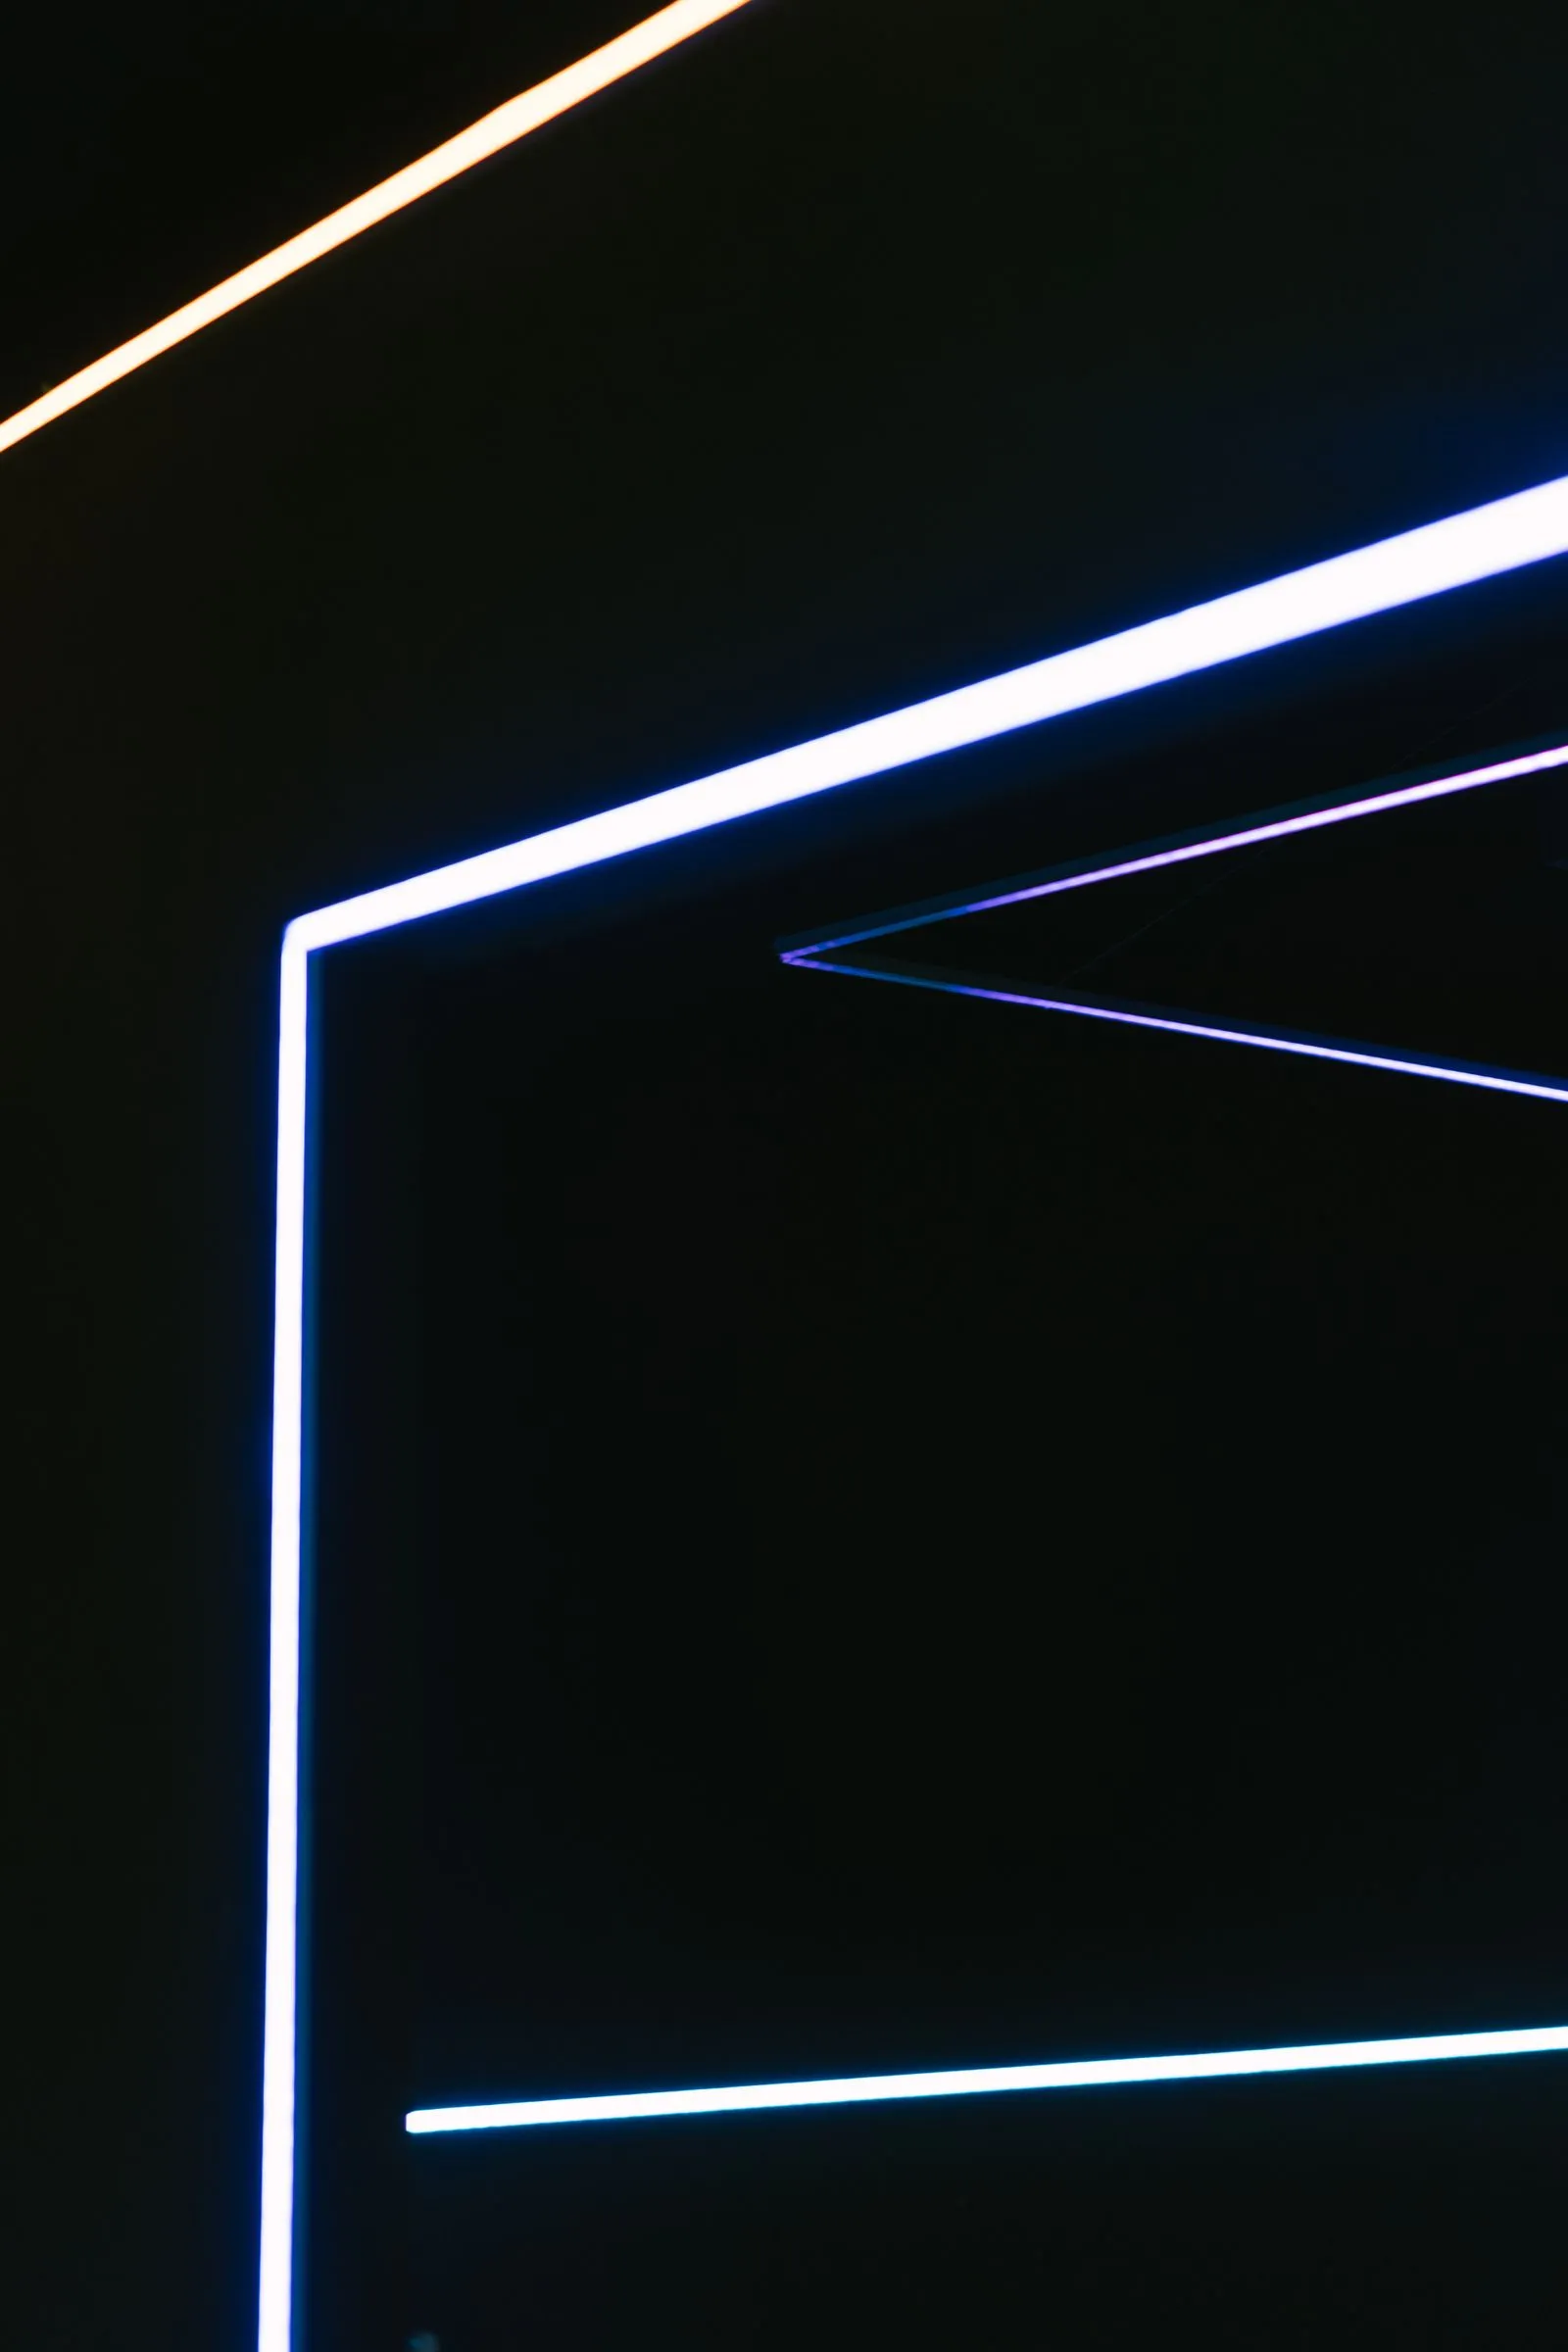
COB (chip on board) strips pack the emitters so densely under a phosphor coating that the light reads as one continuous line. That’s the look in the photo above.
SMD can still work if it sits in a channel with a diffuser cover deep enough to blend the dots. For a bare strip in view, COB is the easier route.
2. CRI 90+ if it lights the desk
If the strip only lights the wall behind the monitor, CRI matters less. If it’s under a shelf lighting the desk surface, buy CRI 90 or higher. Cheap strips often sit around 80, and colours look flat under them. Many listings don’t print CRI at all, which tells you something.
3. 24V for long runs
Voltage drop is why the far end of a long cheap strip looks dimmer than the start. For the same power, a 24V strip draws half the current of a 12V strip, so it loses less along the way.
| Voltage | Typical use | Run length before dimming shows |
|---|---|---|
| 5V (often USB-powered) | Bias kits behind one monitor | Short: roughly a couple of metres |
| 12V | Shelves, short desk runs | Roughly up to 5 m from one end |
| 24V | Long desk edges, whole walls | Roughly up to 10 m from one end |
These are rough rules and vary with strip density and wattage per metre. Longer runs than that need power fed in at both ends or in the middle. USB-powered 5V kits are handy because they run off the monitor’s own USB port and switch off with it, where the monitor supports that.
4. An aluminium channel
LEDs make heat, and heat shortens their life and softens the adhesive. The usual complaint about strips stuck straight onto a surface is that they peel off within months. An aluminium channel works as a heat sink, keeps the line dead straight, and takes a frosted or opal diffuser cover that smooths out any dots. It’s a few dollars a metre and does more for the finished look than any spec on the strip itself.
Coloured strips are fine as an accent
RGB strips aren’t banned. They just shouldn’t be the light you work under. Keep bias lighting at a neutral 6500K while you’re working, keep a neutral lamp for the desk, and switch the colours on after hours. Most RGB strips can do a white setting, though it’s usually a mix of red, green and blue that looks slightly off. Strips with a dedicated white chip (often sold as RGBW) do white properly.
The short version
- Bias lighting goes behind the screen, facing the wall, at about 6500K.
- Start at roughly 10% of the screen’s brightness and turn it down until you stop noticing it.
- Buy COB for a clean line, or SMD in a diffuser channel.
- CRI 90+ if the strip lights the desk, 24V for runs longer than a few metres.
- Mount it in an aluminium channel so it stays straight, cool and stuck.