Mechanical Keyboard Switch Types: Linear, Tactile, Clicky and the Spec Sheet
The colour name on the box means almost nothing. The numbers on the spec sheet tell you how a switch will actually type.
4 min read
- Light actuation force
- 35–45 gf
- Where most stock switches sit
- 50–55 gf
- Heavy: takes a deliberate press
- 62 gf+
- Total travel on most standard switches
- ~4 mm
A switch is the part under each key that decides how the press feels and sounds. There are three types, and the type is only half the choice. The other half is weight, and that’s printed on the spec sheet in grams.
Colour names don’t travel between makers. One company’s red is another’s yellow. So pick the type first, then read the numbers.
Linear, tactile, clicky
| Type | What your finger feels | Sound | Good for | Watch out for |
|---|---|---|---|---|
| Linear | Smooth, straight down, no bump | Quietest of the three | Fast repeated presses, games | Easier to press a key by accident |
| Tactile | A small bump partway down when the key registers | Moderate | Typing, where the bump tells you you’re done | Some bumps are faint enough to feel like linear |
| Clicky | A bump plus a sharp click | Loud | Typing alone, if you like the sound | Microphones pick it up; so do housemates |
Linear switches are the default on many gaming boards and a lot of enthusiast builds. Nothing interrupts the stroke.
Tactile switches give you feedback without the noise. Owners who type all day often end up here, since the bump lets you stop pressing before you slam into the bottom.
Clicky switches are fun, and that’s the honest pitch. In a shared room or on video calls they’re the one to skip.
How to read a switch spec sheet
Four numbers do most of the work. Here’s what each means and the usual range.
| Spec | What it measures | Typical range |
|---|---|---|
| Actuation force | Force needed to register the key | 35–70 gf |
| Bottom-out force | Force at the very bottom of the stroke | usually 10–20 gf above actuation |
| Pre-travel | Distance down before the key registers | about 1.8–2.2 mm; speed switches 1–1.5 mm |
| Total travel | Distance to the bottom | about 3.5–4 mm; low-profile about 3 mm |
“gf” is grams-force. Some sheets just say “g”. Same thing for this purpose.
Actuation force is the headline number and the one to shop by. Bottom-out force tells you how much the spring pushes back if you type hard. Pre-travel decides how early the key fires: short pre-travel feels fast, and also fires on a resting finger. Total travel is how deep the key goes. Most standard switches land near 4 mm, so this one matters mainly when you’re comparing low-profile or speed switches.
Tactile switches sometimes list a “tactile force” or “peak force” too. That’s the force at the top of the bump, and it’s usually higher than actuation.
Light or heavy
Weight is personal, but the ranges are consistent.
- Under 45 gf: light. Easy on the fingers, easy to bottom out, and easy to fire a key you only brushed.
- 50–55 gf: the middle. Most stock switches live here, and it’s a safe first pick.
- 62 gf and up: heavy. Takes a deliberate press. Some typists like the resistance for fewer stray keys; others find it tiring over a long day.
If you’ve only ever typed on a laptop, a light or middle linear or tactile is the gentlest landing.
Noise in a shared room
Clicky is the obvious offender, but not the only one. The loudest sound on most boards is the keycap hitting bottom and the top of the stroke snapping back. That means a linear can still be loud if you type hard.
Quieter options, in rough order of effect:
- Pick a linear or tactile over a clicky.
- Look for “silent” switches, which add dampening at the top and bottom of the stroke. The tradeoff is a softer, slightly mushier feel.
- Add foam inside the case (more on that below).
- Put a desk mat under the board. It takes some of the ring out of a hard desk.
Hot-swap means you can change your mind
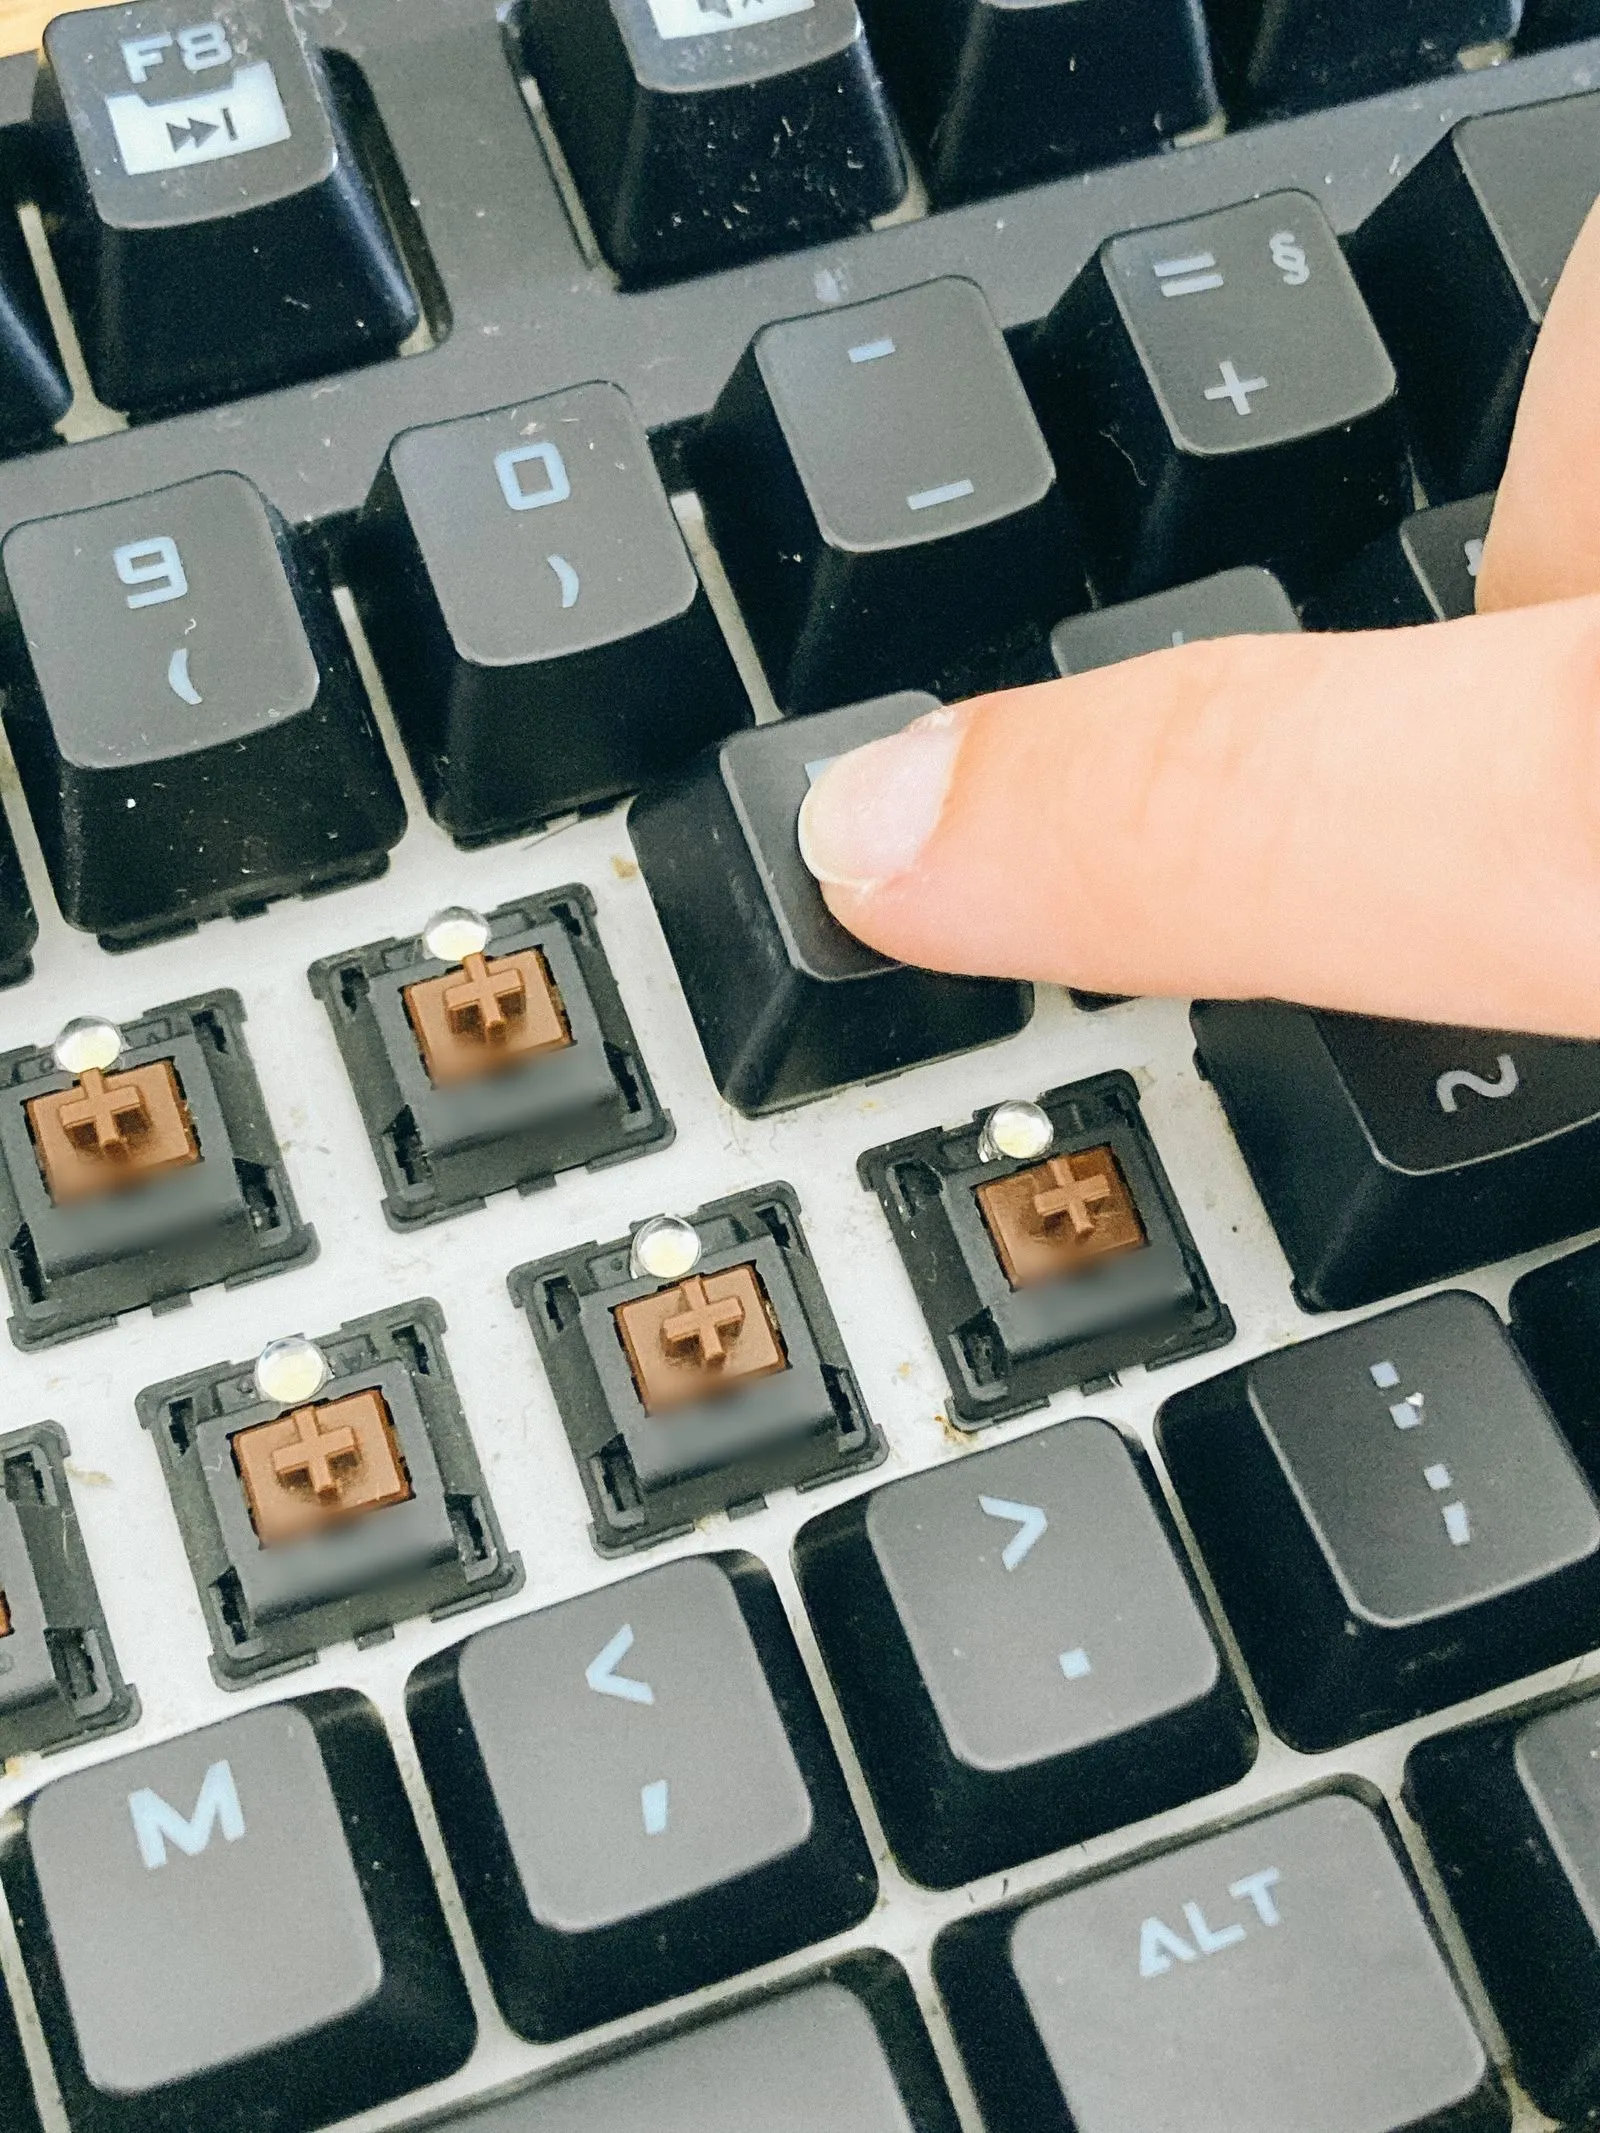
A hot-swap board lets you pull switches with a switch puller and press new ones in, no soldering. That’s the cheapest way to find out what you like: buy a pack of a different switch for a few keys and compare. Check whether the board takes 3-pin or 5-pin switches first. 5-pin sockets take both; on a 3-pin board, clip the two extra plastic legs off.
Soldered boards have fewer parts to wear, and changing switches means desoldering every one. Go soldered only for switches you already know you’ll keep.
Mounting and foam change the feel too
Two boards with identical switches can type differently, and this is why.
Mounting is how the plate holding the switches attaches to the case. A tray mount screws the plate down: firm, and sometimes a little pingy. A gasket mount floats the plate on foam or rubber strips: softer and more even across the board. Neither is better.
Foam comes in three common spots, each with a job:
| Foam | Where it goes | What it does |
|---|---|---|
| Case foam | Bottom of the case | Kills the hollow ring |
| Plate foam | Between plate and PCB | Softens the clack |
| PE foam sheet | On the PCB, under the switches | The higher, “poppy” sound people chase |
Four mods to try first
All cheap and reversible, in the order most people do them:
- Lube the stabilizers to stop the rattle on long keys like the spacebar.
- Add foam inside the case.
- Tape the back of the PCB for a deeper sound.
- Fit switch films to steady switches that wobble in their housings.
The short version
- Linear is smooth, tactile has a bump, clicky adds a click that mics hear.
- Shop by actuation force in grams, not by colour name.
- 50–55 gf is the safe middle; under 45 is light, 62 and up is heavy.
- Buy hot-swap until you know your switch.
- Foam and a desk mat do more for noise than most people expect.